Main Dispossession Activity
The Powell Street simulation
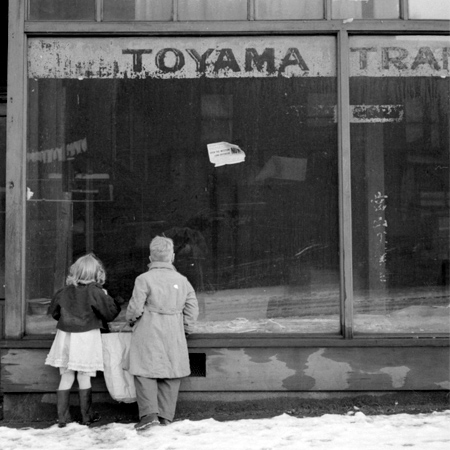
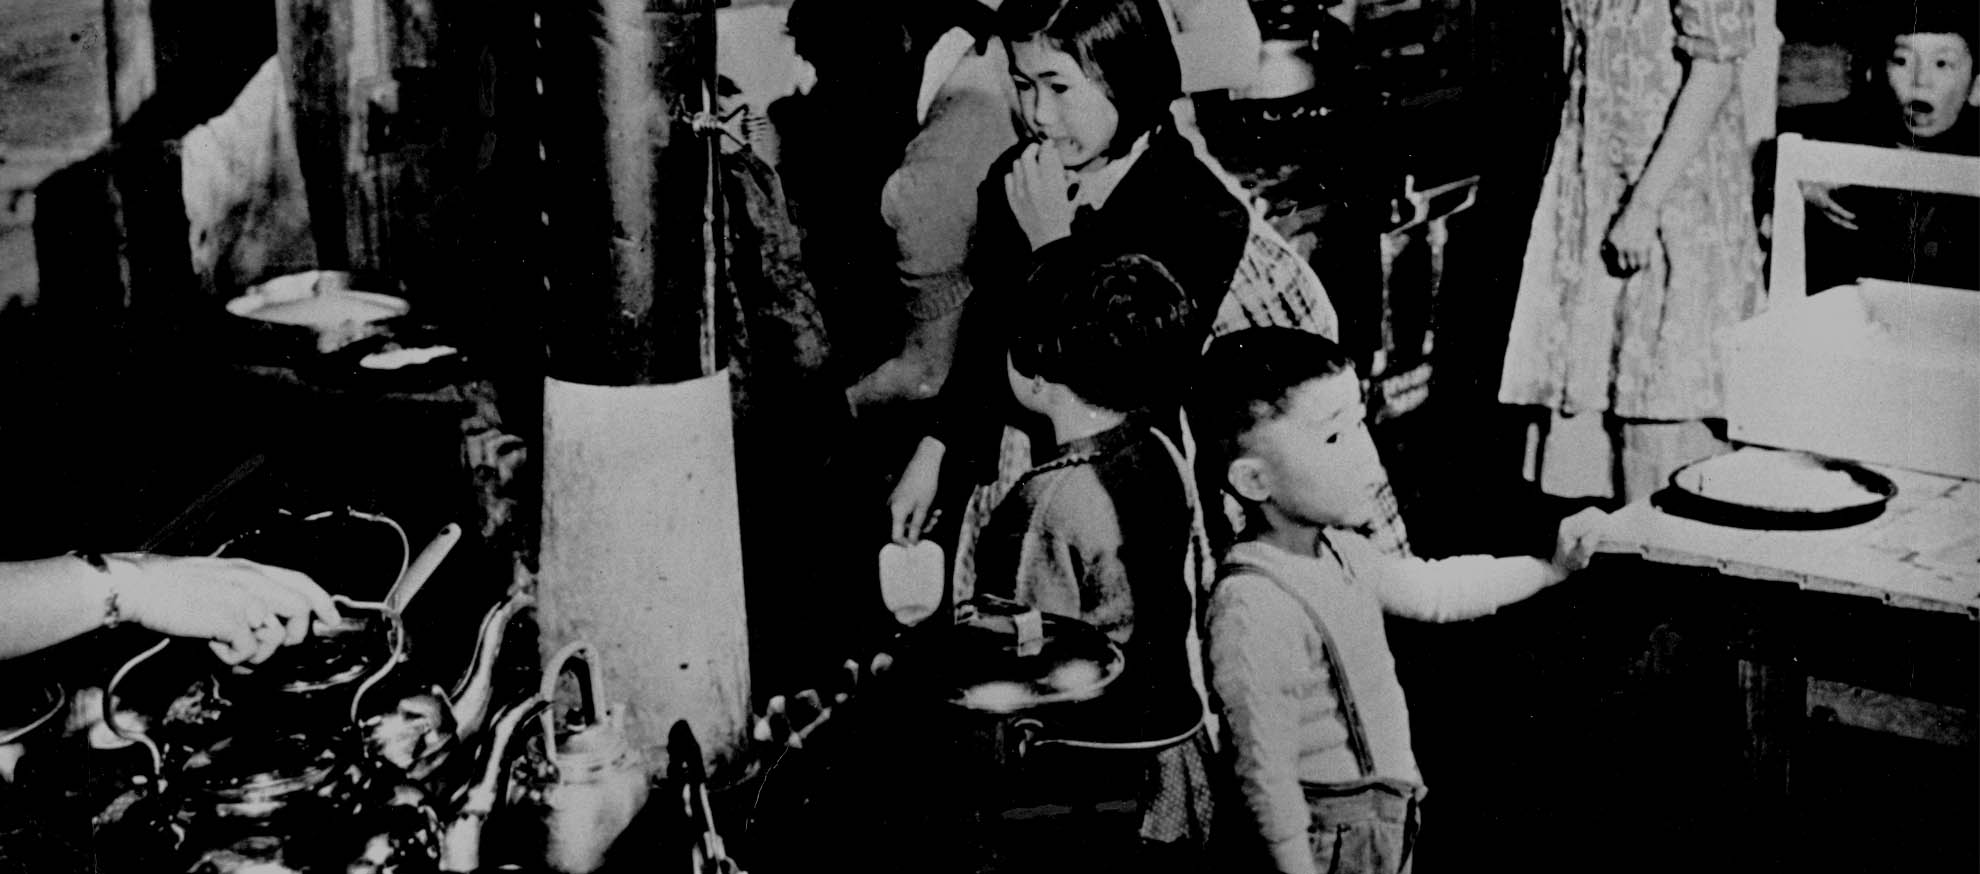
Students learn about dispossession through a bulletin board simulation of a Japanese Canadian community. This activity helps students understand the difference between belongings (one's property and possessions) and belonging (having a home and being part of a community).
* Because of the work students put into their virtual community, the people and the belongings, they become very attached to their work.
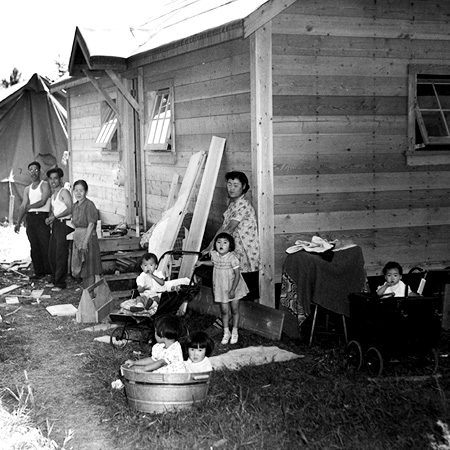
* Then, after time, after students have built up sufficient possessions, Pearl Harbor would occur and the Japanese Canadian avatars/characters from the Powell Street displays would be moved to an Internment Camp bulletin board. Then, as their incarceration continued, their possessions left in the Powell Street display would start to disappear.
* As a class, they process how this happened, why this happened and what the repercussions were.
- Dispossession
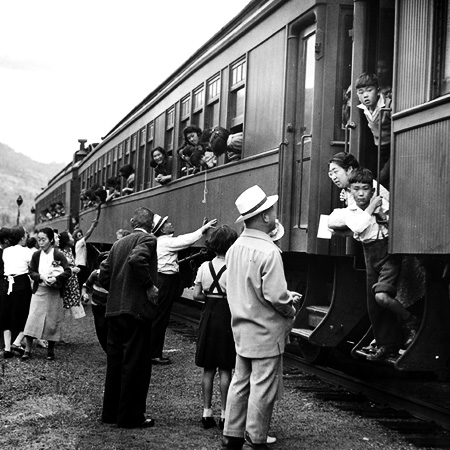
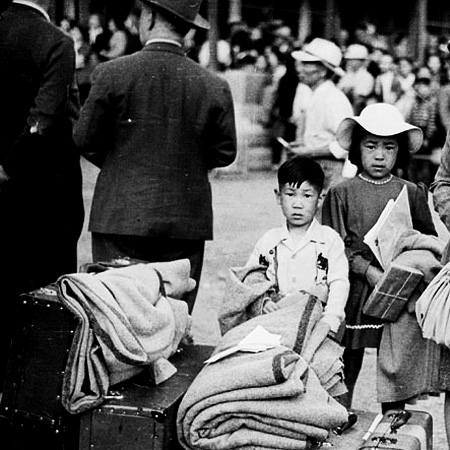
- Dispossession, in this context, refers to the theft, vandalism, neglect, and forced sales of the property of Japanese Canadians during the 1940s. With few exceptions, everything that Japanese Canadians were forced to leave behind when they were uprooted and interned was lost, including homes, businesses, crops, automobiles, fishing vessels, family heirlooms, household and personal items.
Note:This is an overview of the Main Dispossession Activity that runs concurrently with the recommended lessons. Check also the FAQ section for this simulation.
Introducing the simulation
- Before this activity, prepare a bulletin board with an empty street and print the property cards.
- During instruction time, tell students they are going to learn about an immigrant community by creating one on a classroom bulletin board. You can use this PowerPoint to help introduce this activity.
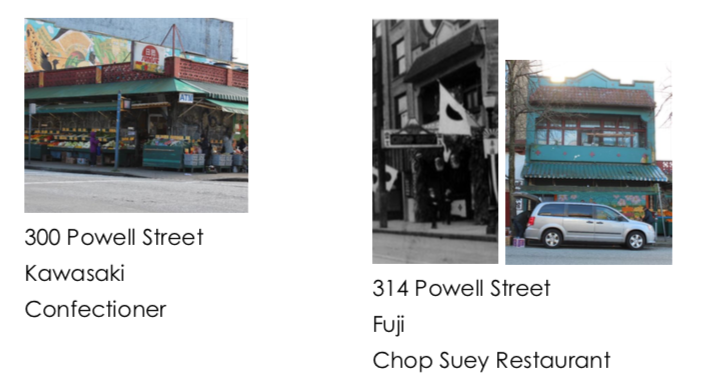
- Give each student a Property Card which includes:
- a picture of their property.
- the address (so they know where to put it on the map).
- the name of the family who owned it.
- the kind of business it was.
Part 1: Creating the Powell Street simulation
- Using a folded piece of manila tag or construction paper, each student will create the adopted building.
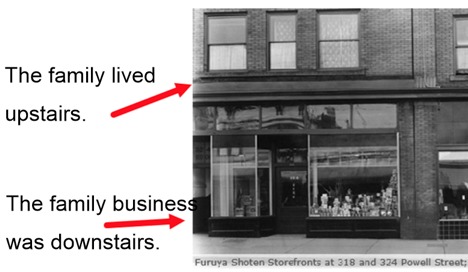
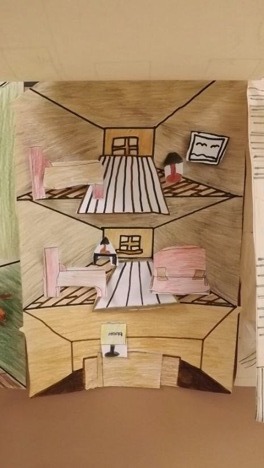
- Each card will be folded so that the outside of the card is the outside of the building, and the inside of the card is the inside of the building.
- The businesses were on the bottom floor of the building, and the residences where people lived were at the top.
- The buildings can be stapled onto the Powell Street bulletin board in relative order according to addresses.
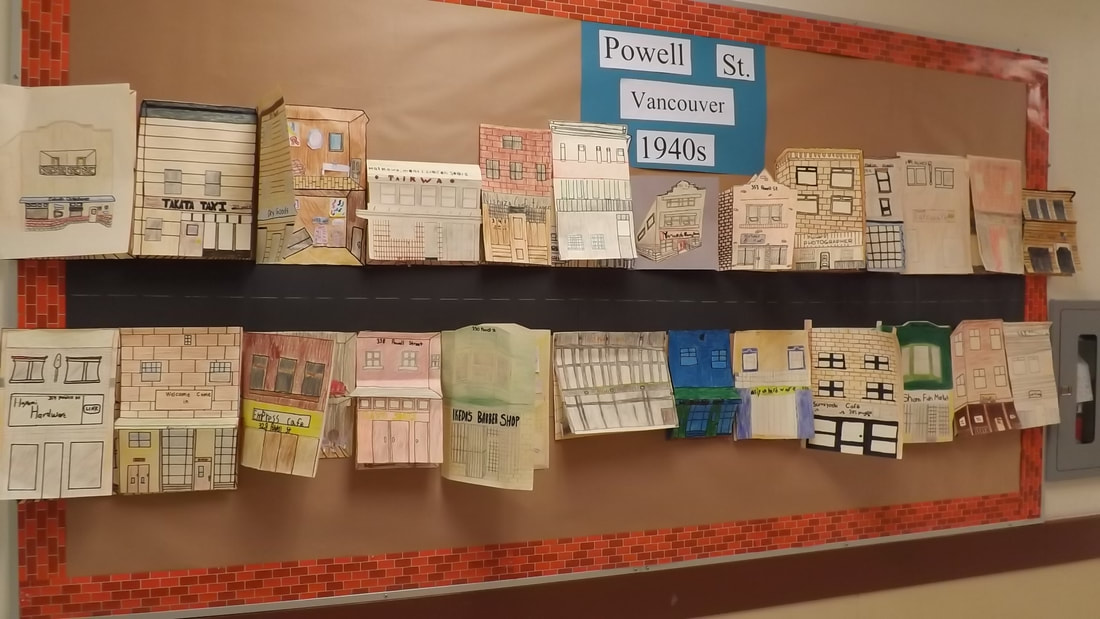
- NOTE: The buildings should be empty, with no possessions and no people. We will address these in the next part.
Part 2: Constructing the People and Possessions
- Tell students now that we have the buildings, we need to put in the people and their belongings into these properties.
- Show pictures of household and store goods from the 1940s, and pictures of Japanese Canadians from this era.
- For the number of people, students can base their simulated families on their own families.
- Using manila tag or the blank sides of cue cards (something fairly sturdy), students draw, colour and cut out their people and possessions.
- The people and possessions are pinned or sticky tacked into the students’ buildings. These contents need to be loose (not drawn in, glued, nor stapled) so that they can be moved, added to, or removed later.
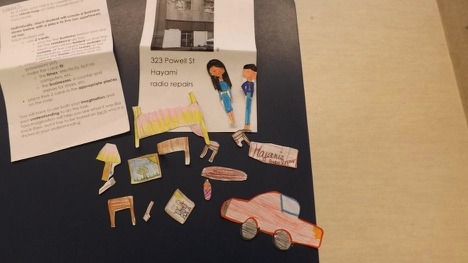
- Note: if you are doing the other recommended lessons, the removal of their property should coincide with Lesson 3. Introduction to Internment.
- Powell Street was a vibrant community. Encourage students to move their avatars around. Have them visit their friends in their homes, chat on the street, or shop at their places of businesses or use their services. They could also trade goods or borrow items from each other. Some pilot teachers moved the avatars when the students weren't there so it is as if the avatars had a life of their own. This created a lot of interest in students who checked daily to see where their avatars ended up.
Part 3: Dispossession
- Once students have amassed possessions (and have become attached to their properties), Pearl Harbor happens. For maximum impact, let students know this happened at the end of the day or the end of the Social Studies period.
- When the students are gone, make an internment camp on a separate bulletin board, and move their people to the internment camp.
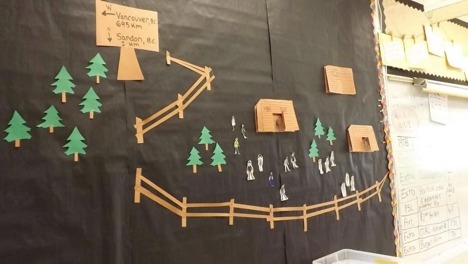
- When the students return the next day, if they don’t notice their people are missing from Powell Street, tell them that their Powell Street avatars have been moved to the internment camp.
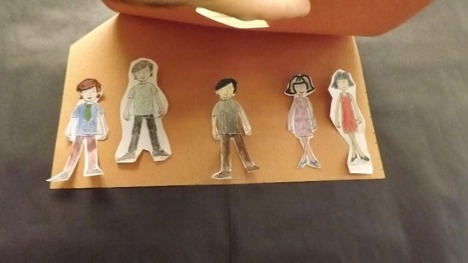
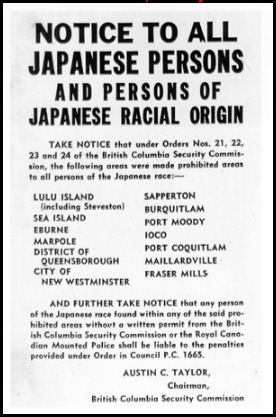
- When the students ask why, show them the notice.
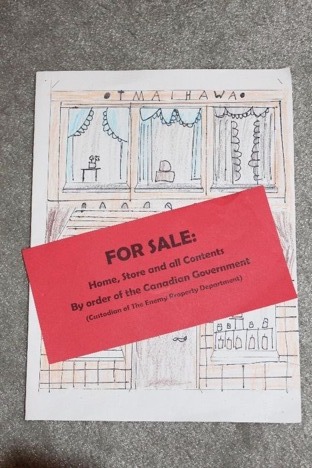
- As time goes on, their possessions in the Powell Street homes and businesses start to disappear to pay for their incarceration in the internment camps.
- This part of the simulation can be followed by this lesson: Dispossession: Letters of Protest
Note: Because this main activity runs the length of the entire unit, assessment for this activity is on-going but focuses on these guiding questions (that classes should continually consider):
- What is the difference between the difference between belongings (one's property and possessions) and belonging?
- What was it like to to lose your home, your possessions, and your community due to prejudice? How do you deal with this kind of loss?
SUGGESTED TASKS:
- You could also assess students' understanding pictorially by looking at students renditions of their building, avatars, and possessions. Are they accurate and appropriate to the time and situation? This is a way of honouring diverse learners by allowing them to show their historical understanding in different medi1.
Variations
- One of our pilot teachers, Ilana, used a big fold out page, so students could have more room for possessions. Also, when the possessions were removed, Ilana posted them in various places around the school, including outside the vice-principal's office. Students went scurrying around looking for their lost possessions, trying to get them back, but were unsuccessful because their possessions had been sold at auction (without the owners' permission).
- Carleen used pre-made templates for the buildings, people, and possessions. You could do that if you are pressed for time or if art is not your strength.
Extension
- "Relocation" instead of internment. Many families decided to go to the sugar beets of the prairies instead of going to internment camps because they thought there was a better chance of keeping the family together. In the internment camps, lots of the men were sent to work camps to build BC roads. There were so many unknowns: no one knew how long the war would last or when Japanese Canadians would return to their homes. You could ask students to weigh the Pros and Cons about going to internment versus relocating the work on sugar beet farms.
How do students draw their buildings?
- Students could learn to draw 3D buildings as part of an art lesson through teacher guidance or by following step-by-step videos on the Internet. Otherwise, students could be provided with the template if facing time constraints.
How much time do you need to give students to create their personal properties?
-
Ideally, students should be given as much time as needed to design and colour their buildings neatly and with detail. This helps ensure students have placed effort into their projects and are (hopefully) proud of their personal property. Students who invest effort seem to have a greater affective response to the unexpected “seizure” of their properties and possessions later in the unit.
As a rough guide, this artistic component can be done in approximately 60 minutes using the template, which could include allotting a few minutes here and there between other subjects, as time permits. Students do seem to enjoy this art component and are happy to work on their buildings once finished other tasks and assignments over the course of a few days.
What about the people (avatars)?
- Avatars can be made a little later although the people, possessions, and buildings must be completed prior to Lesson 3. Again, depending on your time, students could create their own design for the people or use a template. Likewise, students could create just 1 or 2 avatars (if time pressed) or a family of 4. It is important that avatars have dark hair and eyes as government policies around internment and dispossession were fuelled by the racist beliefs of the time.
What about names for avatars?
- Most property cards include the actual family name. Ideally, students’ avatars should include this surname. Students may choose to use their own first names.
What about the possessions (furnishings)?
- For most students, keep furnishings to a few basics, such as a couch and table. Students who are motivated may choose to add extra possessions such as a cash register for their business or a wall painting for their home (upstairs). To simplify and expedite creation of furnishings, direct students to the Internet to follow simple “How to Draw…” step-by-step videos. Furnishings need to be removed preceding the Dispossession Lesson (F).
How can I help sustain student interest in the Powell Street display?
- Simply moving a few avatars from time to time (into another business, etc.) definitely helps spark interest; students love to check to see if their avatars have been moved and then search to locate them. This movement of avatars also underscores the workings of a true community, which is socially and economically dynamic and interconnected.

